You should replace your treadmill belt when you notice signs like slipping, frayed edges, or increased noise during your workouts at home. A polished underside suggests excessive wear, indicating diminished traction, which can hinder your exercise routine. Regular use, especially running, can accelerate wear, so it’s important to keep an eye on the belt’s condition to maintain your home gym equipment. Proper alignment and lubrication can significantly extend the lifespan of your treadmill belt, ensuring you get the most out of your home workouts. For detailed guidance on care and replacement, the following sections will provide you with essential information to guarantee optimal performance and help you stay healthy while exercising at home.
Key Takeaways
- Replace the treadmill belt if you notice slipping or uneven traction during your workouts, as this indicates that the belt is wearing down.
- Keep an eye out for visible signs of wear, such as frayed edges or cracks, which can hinder your workout performance.
- If you hear increased noise during operation, like squeaking, it may be time to replace the belt to maintain optimal traction and a smooth workout experience.
- A polished underside of the belt is a clear sign of excessive wear and reduced traction, so be sure to replace it promptly for safety and efficiency.
- Regular maintenance, including cleaning and lubrication, is essential to prolong the life of your treadmill belt and ensure you get the best traction possible for your home workouts.
Understanding the Lifespan of a Treadmill Belt
The lifespan of a treadmill belt typically ranges from three to seven years, influenced by factors such as how often you use it and how well you maintain it. If you’re running regularly, expect more wear and tear compared to walking.
To maximize the longevity of your treadmill belt, consider investing in a high-quality option with durable, multi-layered construction. Regular maintenance is crucial; performing consistent inspections and lubrication can help prevent premature deterioration and ensure optimal performance.
Additionally, keeping your treadmill’s motor and deck in good condition will reduce stress on the belt. By following these best practices, you can effectively extend the lifespan of your treadmill belt and enhance your home workout experience.
Signs That Your Treadmill Belt Needs Replacement
How can you tell when it’s time to replace your treadmill belt? Look for key indicators that your treadmill belt may need a replacement.
If you experience slipping or an uneven feel while working out, it’s a sign that the belt is worn and requires immediate attention. Additionally, keep an eye out for visible signs of wear, such as frayed edges or cracks, which indicate deterioration.
If you notice increased noise during operation, like squeaking, this could point to underlying issues that may necessitate a replacement.
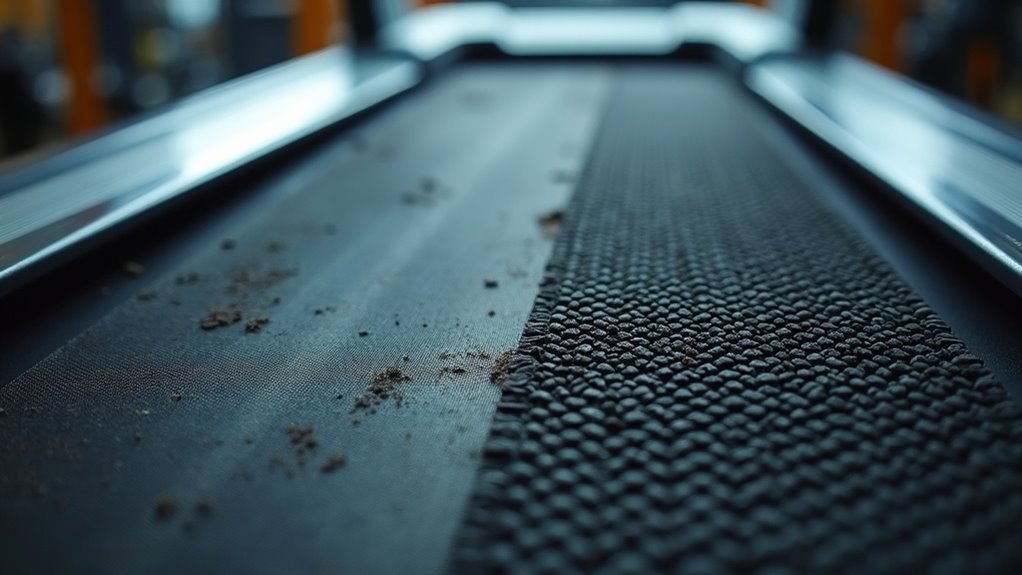
Another warning sign is a polished underside of the belt, which indicates excessive wear.
Factors Influencing Treadmill Belt Longevity
Understanding the factors that influence treadmill belt longevity is crucial for anyone looking to maintain their home gym and stay healthy through exercising at home.
Investing in a high-quality treadmill belt can significantly extend its lifespan compared to basic options, making it a smart choice for your fitness journey.
The frequency of usage directly impacts wear; daily running will wear down the belt faster than occasional walking.
Additionally, user weight is a significant factor, as heavier individuals exert more strain on the belt, increasing the potential for wear and tear.
Environmental conditions, including humidity and temperature, can also affect the durability of your treadmill belt.
To ensure longevity, regular maintenance is key—cleaning the belt and applying lubrication will help you catch any signs of wear early and keep your treadmill performing at its best, allowing you to focus on your fitness goals.
Expert Tips on Maintaining Your Treadmill Belt
To keep your treadmill belt in top shape, regular maintenance is essential for ensuring a great home workout experience.
Make it a habit to clean the treadmill belt frequently to prevent dust buildup, which can increase friction and hinder your performance. Always follow the manufacturer’s guidelines for proper lubrication; this helps minimize wear and guarantees smooth operation during your exercise sessions.
Periodically check for correct alignment and tension, as misalignment can lead to common issues like uneven wear, impacting your workout. Inspect the belt for visible signs of wear, such as fraying or cracking, to maintain optimal traction and extend its lifespan.
Step-by-Step Guide to Replacing a Treadmill Belt
Replacing a treadmill belt may seem daunting, but it’s a straightforward task that can significantly enhance your home workout experience. Start by disconnecting the power to ensure safety, then carefully remove the motor hood and side rails to gain access to the belt and rollers.
As you detach the front and rear rollers, remember to count the turns on the adjustment bolts for accurate reassembly later. Before installing the new belt, take the time to clean the deck and roller surfaces thoroughly to maintain optimal performance.
Once the surfaces are clean, align and center the new belt, ensuring proper tension by gradually tightening the adjustment bolts. Finally, lubricate the new belt according to the manufacturer’s guidelines. This will help reduce friction and ensure smooth operation, allowing you to enjoy your home workouts with confidence.